How to properly set up a multi-monitor display
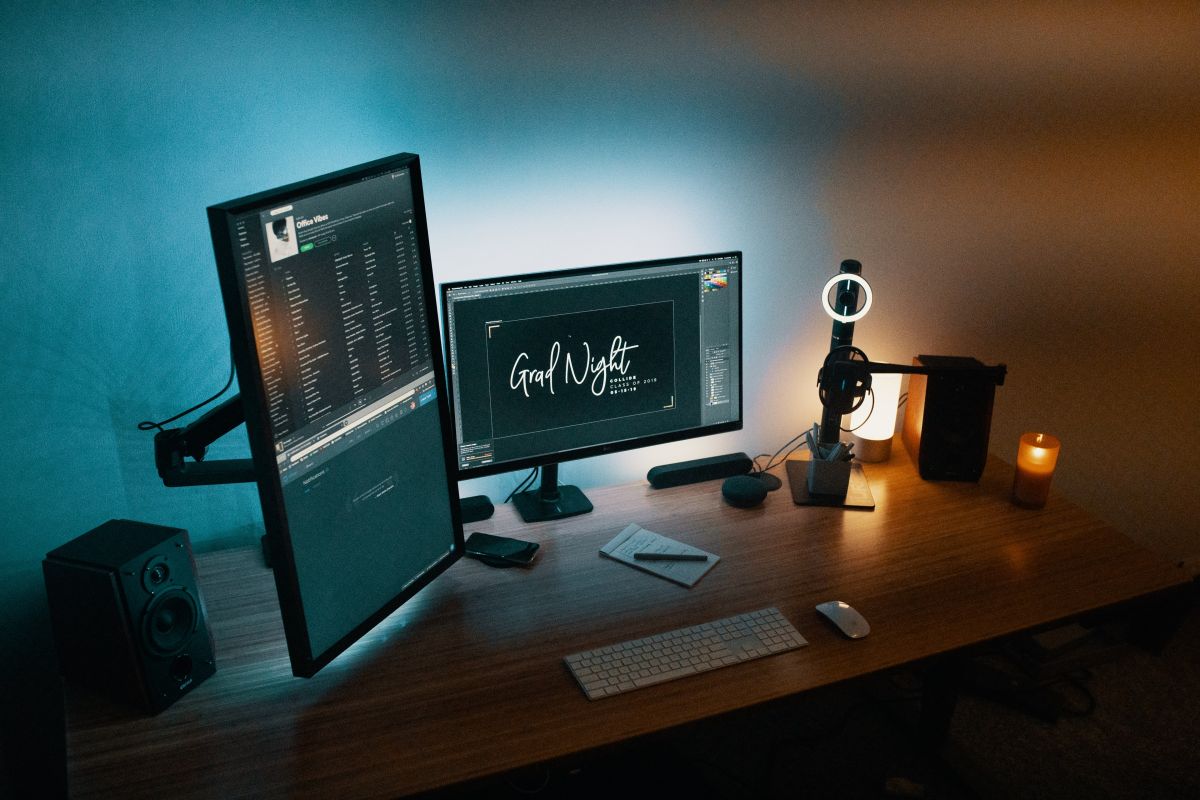
There are many things that your computer setup can do to improve your productivity. A faster processor will be able to handle more tasks, while extra memory can help with multitasking. Ask those who work long hours with computers and they will tell you that two or more monitors give the most productivity boost.
There’s no need to switch between windows and try to remember what you are doing. Drag and drop is faster and more efficient. You can also view more items on your desktop. This is our quick and simple guide to setting up multi-monitor displays in Windows.
Connecting additional monitors to your computer
First, plug in all extra monitors into your computer. You’ll need to plug it in if you have a desktop computer. Depending on the hardware, there are two options.
Desktop PC / Discrete GPU
You should have ports similar to the one shown below if you are using a discrete graphic card. You will use one of these ports for your main monitor. Which port should you use? Our graphics card has three DisplayPort sockets, one HDMI (bottom right), and one DVI(top left). It’s possible to mix and match the monitor connections. If the main one is DisplayPort, and the other is HDMI, it’s okay to connect them. If you want to use two monitors that are both HDMI, you will need to connect one to DP and the other to DP using a DisplayPort-to-HDMI adapter.
Laptops and Integrated Graphics
You have limited options if you are using a desktop computer without a discrete graphic card. Most motherboards only have one or two display output ports (DP and/or HDMI), while laptops usually only have one. Although you might believe that one HDMI output will limit what you can do on your laptop, it is possible to add two HDMI monitors to a single HDMI output by using an HDMI Splitter. However, both screens will display identical content.
Some laptops support HDMI Alt Mode Type C. This means that you can connect two monitors using a USB to an HDMI cable. They will be able to display different information.
Windows monitor setup
Once everything is connected and powered on, you can go into Windows settings to configure the display of your additional monitors. Use the Windows key + I to enter the Start menu and then click on Settings. Click on the Display section of the main menu. The following screen should appear in Windows 11.
For all of the screenshots, we’ll use Windows 11. To see the same screen as Windows 10, click on System and then Show. This will show you everything that you can alter. Let’s now focus on the first step of the setup: configuring the arrangement of the monitors within Windows. One monitor will need to be set as the principal, and the rest as the second. The default display of the Start Menu, system tray and clock is displayed on the primary monitor. Secondary monitors can be used to extend or duplicate the desktop. For more options, click on Multiple monitors in Windows 11.
Choose the primary monitor and check the Make it my main display option. In the above image, monitor 1 is primary and monitor 2 secondary. It would be easy to click on the second monitor, and tick the option if we wanted it to work the other way.
Let’s not forget about the other options for ticks while we’re still here:
- Recall windows locations based upon monitor connection. This option is useful for laptops that are difficult to detach from other monitors. Windows will then reopen the place they were last opened by docking and undocking.
- Reducing the number of windows that are displayed when a monitor is offline is a related function to the previous one and does exactly as it says. This allows you to minimize any windows that were displayed on the monitor when it is removed.
- This feature allows for easy cursor movement between multiple monitor displays that may not be the same resolution or size. The cursor can become stuck in corners if they aren’t aligned. However, with the enabled, it will always move between the screens.
These options are available only in Windows 11. Windows 10 supports some of these behaviors, but it is not possible to completely control them.
Designating the place and role of the additional monitors
We have two monitors for this article. The primary is to the left and the secondary is to the right. The secondary monitor can also be used as an extended desktop. This means that if the cursor moves to the right, it will appear on the secondary.
Click on the menu right above the Identify button to change this. This will cause the monitors to display a number that tells you which one is in Windows. There are four options available.
- Duplicating these displays will make all monitors show the same display — useful if you want to demonstrate the use of a particular program to others.
- These displays give you a wider desktop.
- Show onlyoptions will disable any of the attached monitors and make the active one only. It might seem redundant if you are near the monitors, but it will make them inactive if they are far away (e.g., A ceiling-mounted projector is a great way to prevent anything being displayed on them.
This can be done in Windows 10 by scrolling down to the bottom Display settings window to access the Multiple display options.
You can change these settings faster in Windows 10 or 11 by pressing the Windows key, and PHP together. The same options will be available in the small window located to the right of your primary monitor. Let’s now look at how the monitors are arranged. They are physically side-by sides, with the primary display on the left. However, Windows allows them to be arranged differently. Let’s suppose we want our desktop to be extended below the main display, and not to its right.
This is possible in both Windows versions. Click and hold the monitor you want to move, and drag it into the desired location. After you have placed the monitor, click Apply to set the new location. Windows cannot tell the physical location of extra monitors. This means that if you stack them vertically or use three side-by-side then this step will be absolutely necessary to achieve the desired display. The secondary monitors should be placed closer to the primary in order to have smooth cursor movement, even with the Ease cursor motion’ option enabled. If the primary monitor is 4K, but the secondary is 1080p, it will appear half the size in Windows (even though the screen dimensions are identical).
In such situations, it is a good idea to try a few positions to see which one suits you best. The best compromise is to place the secondary in the middle if the primary’s vertical height.
Modifying the orientation and scaling
Many users will use a secondary screen to display chat/social media apps like Discord while they are gaming, or to show code being written. It can be very useful to rotate the monitor 90 degrees, e.g. in portrait mode.
Windows does not know that the screen has changed in this way so the operating system must be informed. This can be done in the scale & layout section within Windows 10 or 11. The Display orientation options box will allow you to choose from four modes: Portrait, Landscape, Landscape, and Two Other.
To accommodate different monitor setups, the ‘flipped’ modes rotate the desktop 180 degrees. If you have it clockwise and want to use portrait orientation, select the normal mode. If you have twisted the display clockwise, choose the flipped option. Before making any changes, make sure you select the monitor that you wish to reorient at the top of your Display menu.
You may also want to adjust the Scale setting for additional monitors. Apps, text and icons all have a fixed number pixels. This means that monitors with a high resolution can look very small. Although this can be helpful if you want to maximize your desktop space, it can be distracting and eye-sore. Windows will usually increase the scaling to make everything look larger when the resolution is high (e.g. While 4K monitors default to 150%, you can change this setting easily.
If you don’t like the scale values shown, you can set your own. Click the arrow to right to open a new scaling option. Be aware that scaling can be changed from its default settings. This can cause some apps to not display correctly, including Windows. It can also make it difficult to return to normal settings afterward.
Multiple monitors mastered
We’ve already covered enough information to create a multi-monitor display that meets almost all your needs. You can also adjust the display settings, such as HDR (High Dynamic range) control for monitors that are compatible. However, these settings don’t affect how other screens are organized and presented.
While you may be able to adjust aspects such as resolution or refresh rate, we recommend that you use the native values whenever possible. This is especially true for refresh rate. You only need to change the orientation and location of your monitors. Then, you can set the desktop to extend for maximum real estate or to duplicate for presentation purposes.
Enjoy your productivity increase!